
How to use the automatic e-mail function?
The automatic e-mail function includes 5 sub modules: Overview, Trigger, E-mail Templates, Batch Messaging and Blacklist.
Overview: mainly data statistics and outgoing / sent mail list.
Trigger: the core of the automatic E-mail function, which is used to realize functions such as "send the preset template email to the customer 5 days after the arrival of the order". The trigger will not work on historical orders. If you need to send a new email for historical orders, please use the Batch Messaging function.
E-mail templates: the mail contains variables. These variables will be automatically replaced with the real information in the order when the mail is sent.
Batch Messaging: this function is mainly used to reissue historical orders. For example, if you want to reissue orders in the past three months, you can use this function.
If you need to request reviews, it is suggested to use Solicitations function, which is mainly used to send after-sales care emails.
Note: please open the page https://qmt.io/accounts/mws Confirm that your "Amazon store name" has been filled in, otherwise the email will not be sent out.
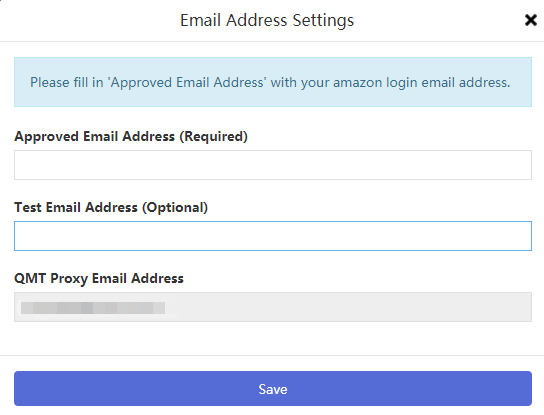
Email Address Settings
The email address must be your Amazon main account email or any other approved email, otherwise the buyer will not receive the email.
Open page https://qmt.io/accounts/mws
Click "Email settings" of the corresponding store.
In the pop-up dialog box, fill in your authorization email address.
Create a Trigger
1. open the trigger page
Click "new trigger"

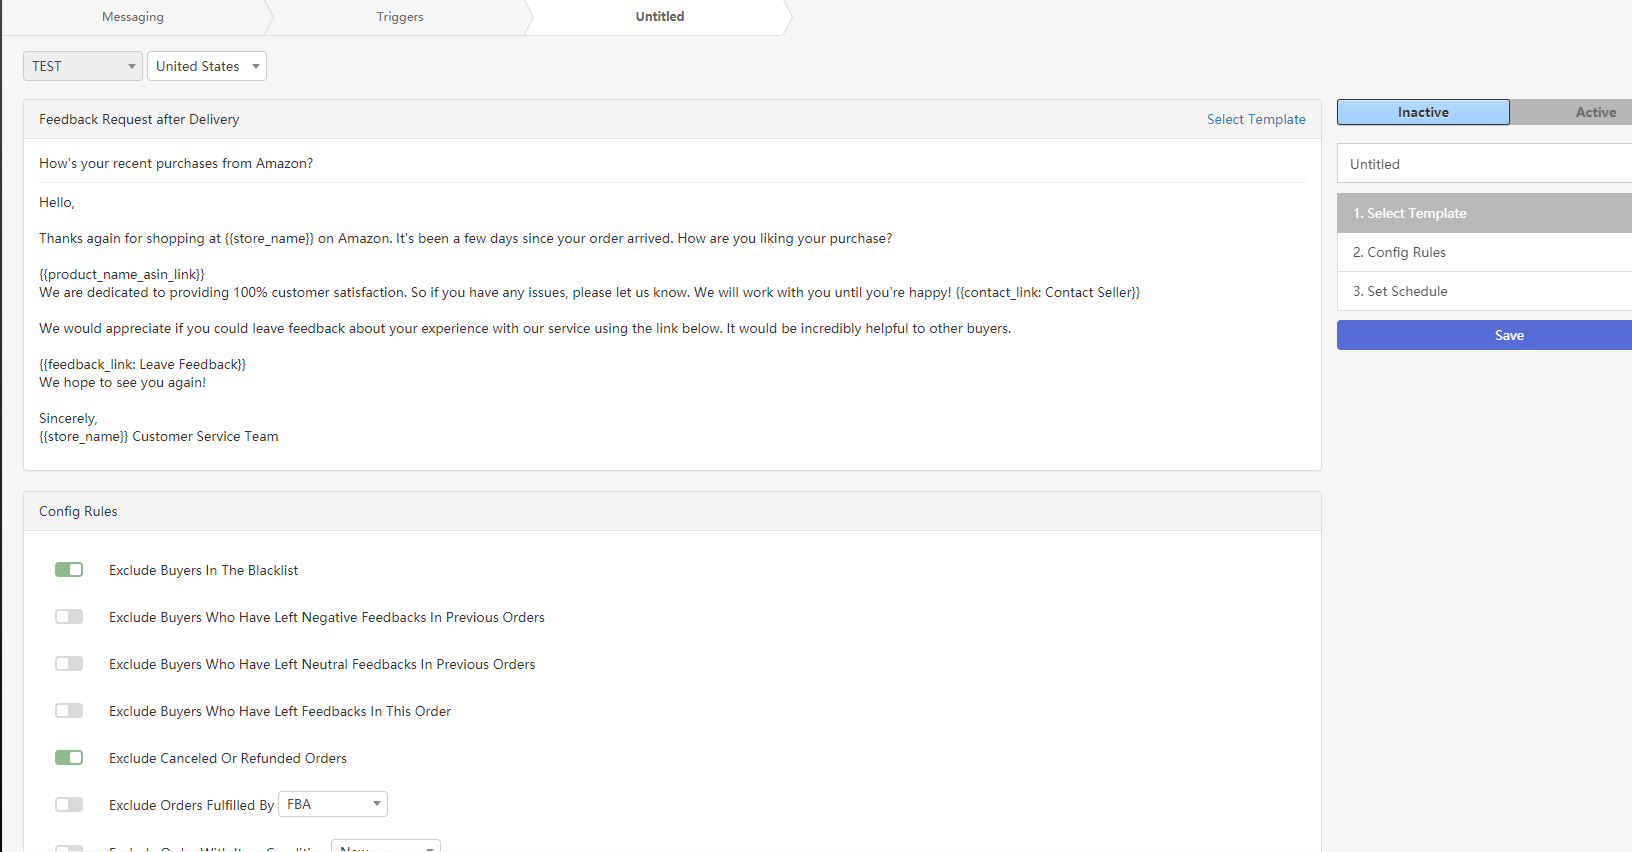
2. edit trigger
The trigger editing page is mainly composed of three parts: selecting an email template, configuring filtering rules, and setting trigger conditions and sending time.
Select a mail template: you can edit your email template in this page https://qmt.io/email_templates and then select your template on the trigger editing page.
3. start trigger
After setting, open the trigger to operate normally.
Create a Batch Messaging
Batch messaging is mainly used to reissue the mail of orders in a certain period of time in the past
1. open the batch messaging page
https://qmt.io/messaging/batch
Click "new batch task"

2. edit batch messaging
The editing of batch messaging is similar to that of trigger, but you need to select the time period for sending mail to the order.
3.Click Run
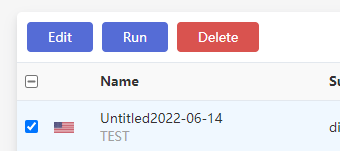
After clicking run, the system will create an email to be sent and automatically schedule the time.
In order to allow you enough time to check email and other information, all emails to be sent will be sent the next day after clicking run.
Email Templates
open the page
https://qmt.io/email_templates
1.click "New Template" to create your template
you can use variables e.g. {{buyer_first_name}} in your email subject or body
variables will be replaced with order info accordingly before the email sent out
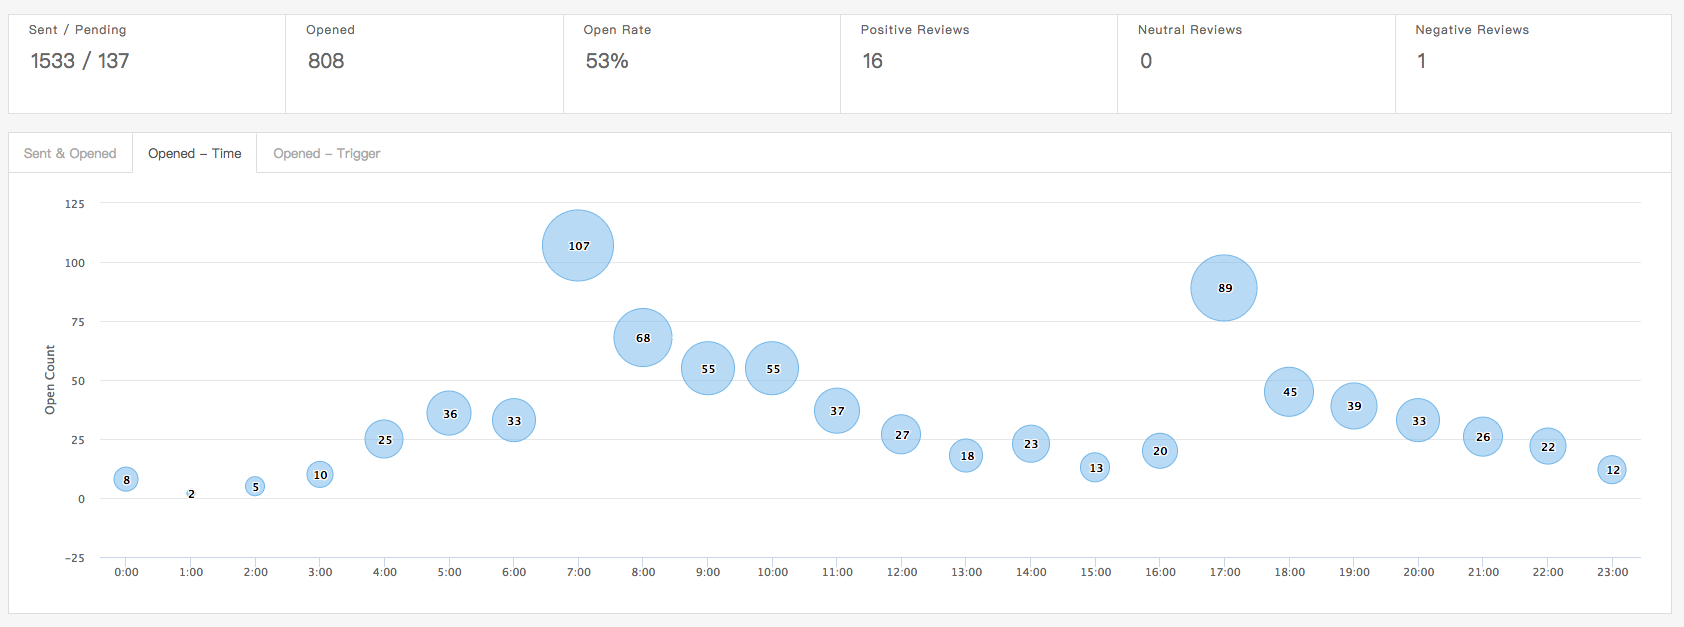
Overview
open the page
Blacklist
Take the US station for example, other stations are similar.
1. open the authorization page
https://qmt.io/accounts/mws
Click "email settings" of the corresponding store
Find the "QMT Proxy Email Address" line in the pop-up dialog box and copy xxxxxx@amz.qmt.io
2. open the Amazon sellercenter notification preferences page
https://sellercentral.amazon.com/notifications/preferences
Drag to the bottom, as shown below
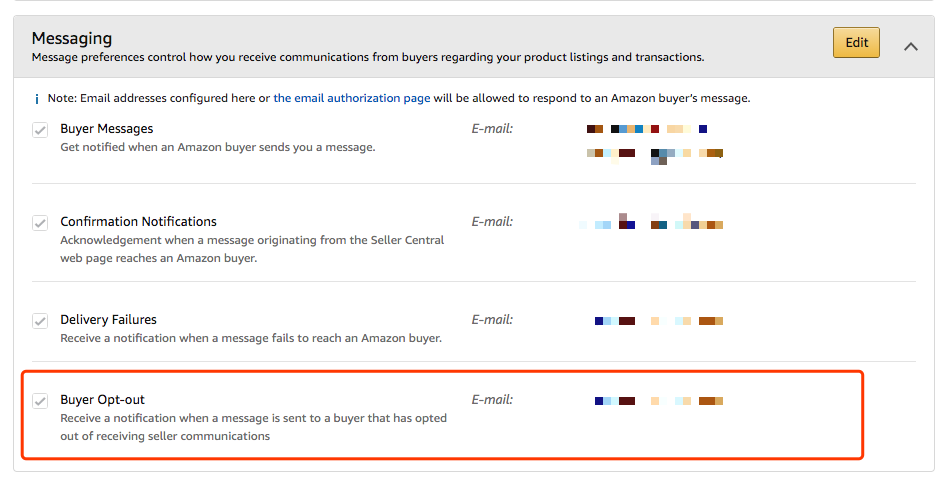
Click Edit to edit the xxxxxx@amz.qmt.io Fill in the line of buyer opt out,
Click Save to complete the setting.
In this way, the returned buyers will be automatically added to the blacklist, and subsequent emails will not be sent to the buyers in the blacklist, and the overview page will also count the number of returned letters.